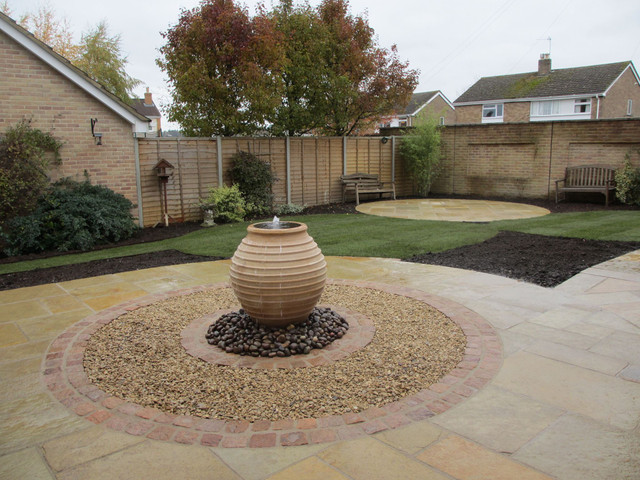
There’s nothing quite like the soothing sound of a water feature in the garden, to help you relax after a long day. Water features also create a great focal point, decrease noise pollution, improve air quality and attract wildlife.
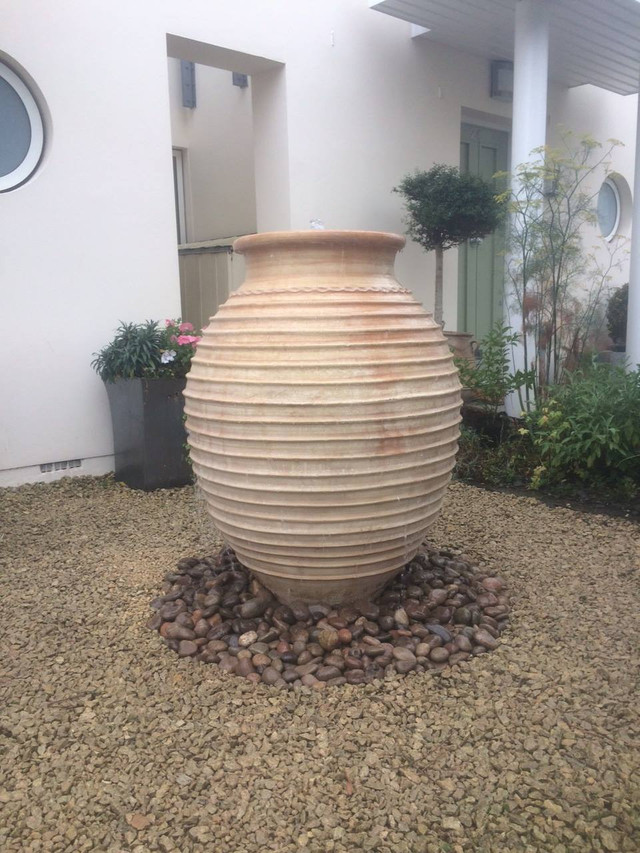
We were asked to install a garden water feature recently for our client as a focal point for their circular patio area. It was a terracotta Greek urn (also known as a Beehive shape or Koronias). Here are the steps we took - you can apply these to your own water feature.
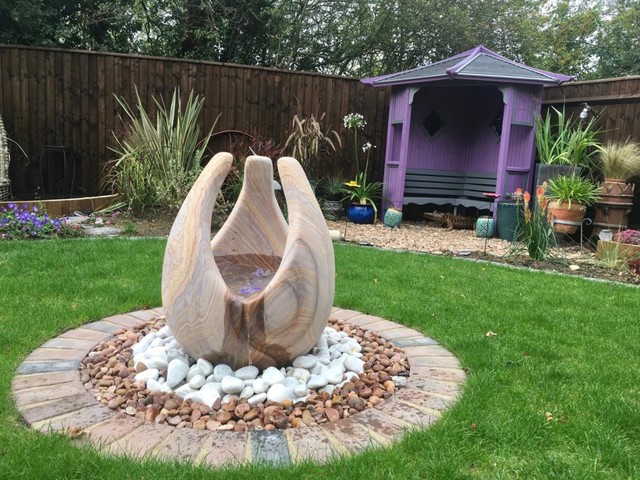
1. Prepare the Space
Before the water feature arrived we prepared a hole in the ground with a firm level base consisting of compacted hardcore and an inch of sharp sand. It’s a good idea to set the top height of the water feature reservoir 4 inches above ground level. This prevents dirty run-off water collecting in the reservoir, increasing maintenance and blocking up the pump.
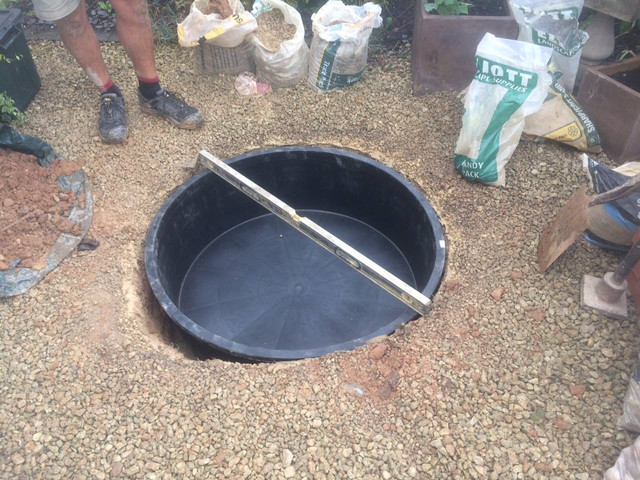
2. Ensure the base is level
Once the reservoir is settled into the hole, place the grid over the top of it. Next, use a spirit level to check that everything is level before proceeding further.
3. Plumb in the water feature
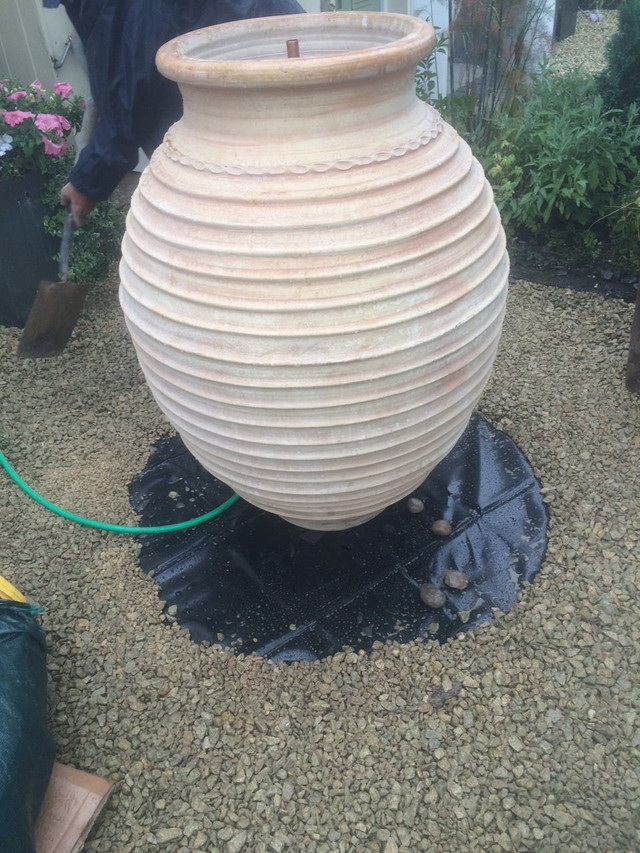
Now it is time to place the water feature carefully on the centre of the grid. Once it is in position, attach the copper pipe at the base of the feature to the pipework leading to the pump. This step may vary with other water features but the principle will be similar. Next, fill the water reservoir up with water and turn the pump on briefly to check that it works and that water comes out the top of the pipe. A qualified electrician will need to wire the pump into the mains system. A simple switch turns it on and off. Remember that the pump always needs to be submerged in water; sucking in air only will cause it to overheat and will damage the pump.
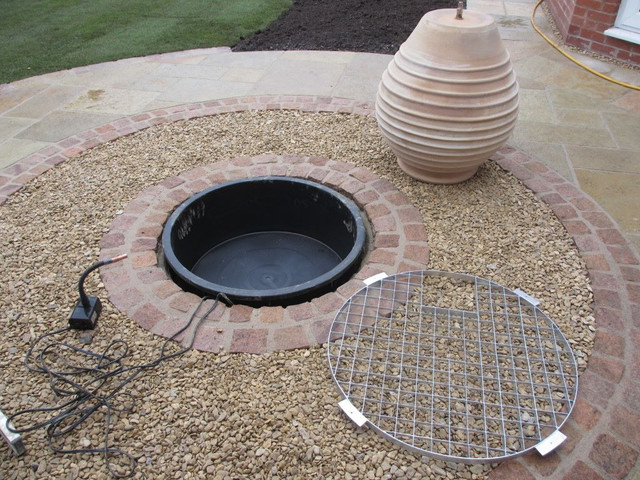
4. Check pump and fill with water
Once you are happy with the position of the water feature and that everything is working as it should, fill the pot up to the top of the copper pipe within the pot. Also top up the reservoir if required.
5. Cover grid with cobbles
The final stage is to cover the grid with your choice of decorate aggregate; cobbles are a popular choice that complements most water features.
EXTRA TIPS:
- During the summer months, remember to check that the water level in the reservoir stays topped up to prevent damage to the pump.
- This particular beehive water feature requires draining and storing inside over winter. Not all water features are like this.
- You can adjust the height of the small fountain by using the dial found on the side of most pumps to change the flow rate.
- If your pot starts to turn a bit green, a gentle wash with diluted washing up liquid will restore it to its original state.
